If you’ve ever tended a garden, you know the satisfaction that comes from harvesting your own food. Imagine your students experiencing that same satisfaction as well. And in the process, they not only receive a hands-on science lesson, but you can expand it to include other subjects as well.
Getting Started
- Find a place in your classroom to keep the plants. Make sure it is away from books, displays, and other items you want to keep safe. Make sure it is a place where the plants can receive enough sunlight, too.
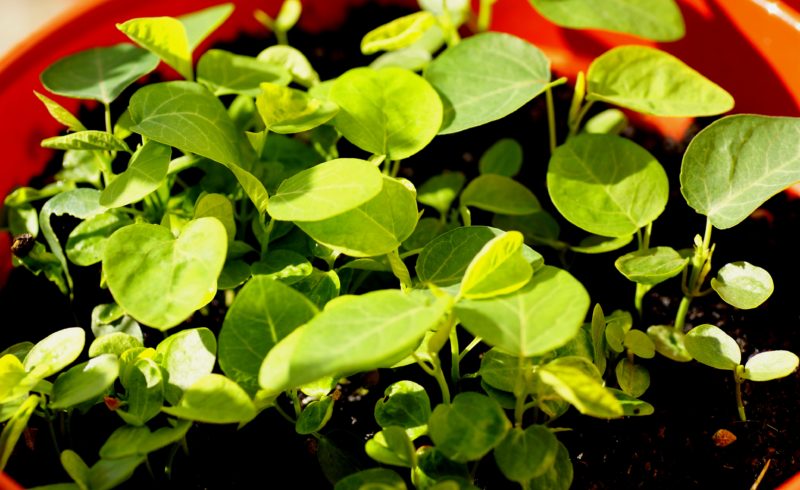
- Choose the plants you want to use. Look for ones that are easy to grow, such as lettuce, beans, peas, or herbs.
- Gather a cup or pot for each student to use. Write their names on the outside of the containers with a permanent marker.
- Provide soil and seeds for each student and show them how to plant the seeds.
Caring for the Plants
- Have each student take care of his or her own plant. Provide each student with a chart to keep track of what the plant needs and when. For example, students can mark off when the plant has been watered.
- During a long school break, have the students take home their plants. Provide them with plant care instructions for each day they are out.
Do you have room at your school for planting a garden outdoors? Check out this site for ideas.
Photo by Jusben


