Inspiration and Information About the Outdoors


Inspiration and Information About the Outdoors
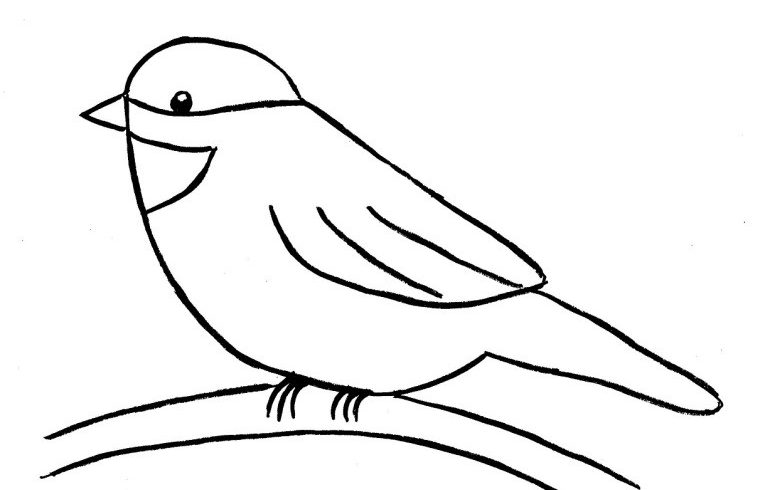
Follow these steps to create your own chickadee drawing!
Follow these steps to create your own chickadee drawing!
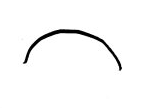
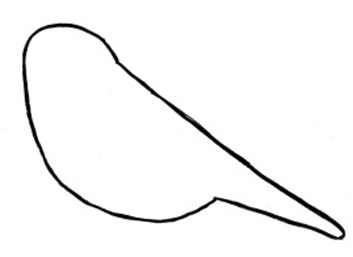
To begin, draw a line curving downward for the top of the bird’s head.
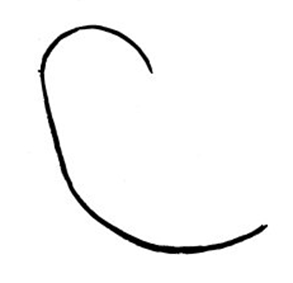
Next, place your pencil on the end of your curved line on the left-hand side. Draw another curved line. This line will curve upward. You can think of this line as a “crooked smile”. The left side of the line will be longer than the right-hand side.
Now that you’ve drawn the head and the body, it’s time to draw the tail. Starting at the right-hand side of the “crooked smile”, draw a straight diagonal line. Draw a short line at the end, and come back up with another straight diagonal line.
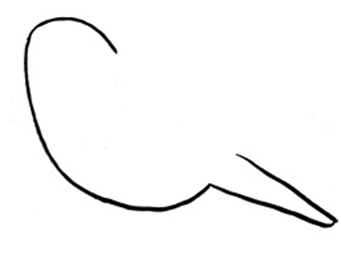
Draw one more straight line to connect the tail with the head.
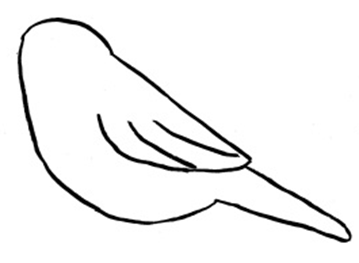
To draw the wing, make a curved line. Start in the middle of the bird and curve the line until it touches the bird’s back. Add two more curved lines to indicate feathers.
Draw the bird’s beak and eye. The beak is a triangle. The eye is a circle. Place the eye in line with the beak. Color in the eye, leaving a small white spot as a “catchlight.”
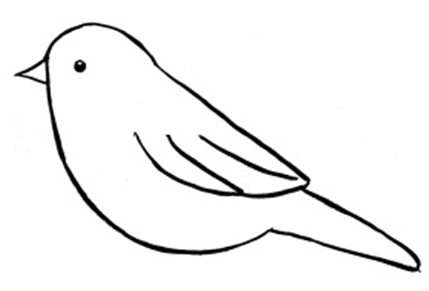
To mark where the black feathers are on this chickadee, draw a slightly-curved line from the top of his beak, under his eye, all the way to the other side of his head.
To draw his “bib”, start at the bottom of the beak. Draw a triangle shape from the bottom of his beak toward the center of the bird, then back again.

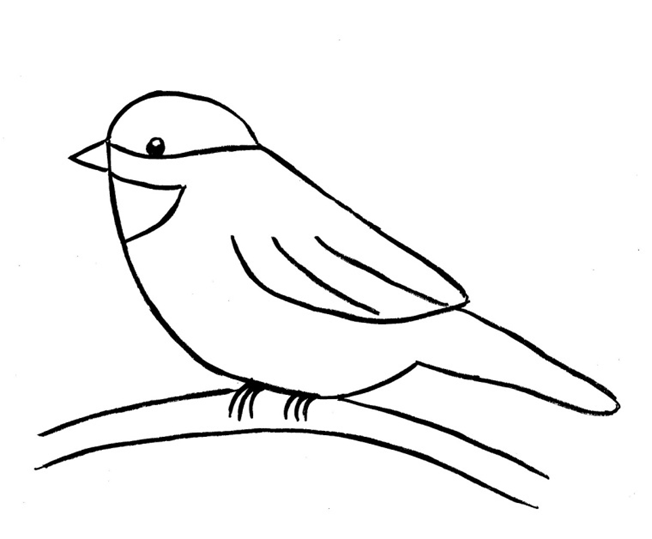
Almost done! Next, draw two curved lines to form a branch. To make the chickadee’s feet, draw three short lines coming from under the bird onto the branch. Repeat to make the second foot.

Click HERE to find out more!
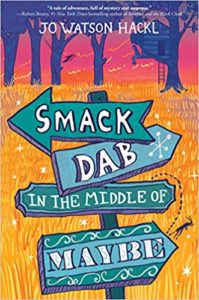
An Outdoor Adventure in an Overgrown Ghost Town
Eleven Days, Thirteen Clues, and One Kid Who Won’t Give Up
Can 12-year old Cricket survive on her own in an overgrown ghost town? Join Cricket as she forages, explores the outdoors, and tries to solve a thirty-year-old art mystery clue trail.
Click HERE to find out more!
Free Lesson Plans available!


1 Comment
What a great activity!