Inspiration and Information About the Outdoors


Inspiration and Information About the Outdoors
You may be thinking, “What 29 year old spends her Saturday afternoon building a solar pizza oven?” Well, allow me to introduce myself. My name is Leigh Ann, I love crafts, I love a theme, and I love to eat.
I work for Duke Energy as a Public Relations Associate and I’m tasked with educating students on the importance and the future of renewable energy. Now I know that most of this can be explained in a fancy PowerPoint presentation, or with a cool animated video. But as I mentioned in my intro, I love crafts, so how can I provide students with a hands on educational experience, in a limited amount of time?
To the internet I went!
After a few hours of searching, I came across this kid focused, STEM focused website created by the smart people at NASA, Climate Kids. After playing a few games, I stumbled upon an experiment that reminded me of my Easy-Bake Oven days. “How great,” I thought, “these students can learn about solar energy AND eat s’mores!” I was sold.
If you want detailed instructions on how to make your own solar oven, follow this link to the original NASA post. If you are more like me and subscribe to the “I’ll just wing it” mantra, feel free to follow my instructions below.
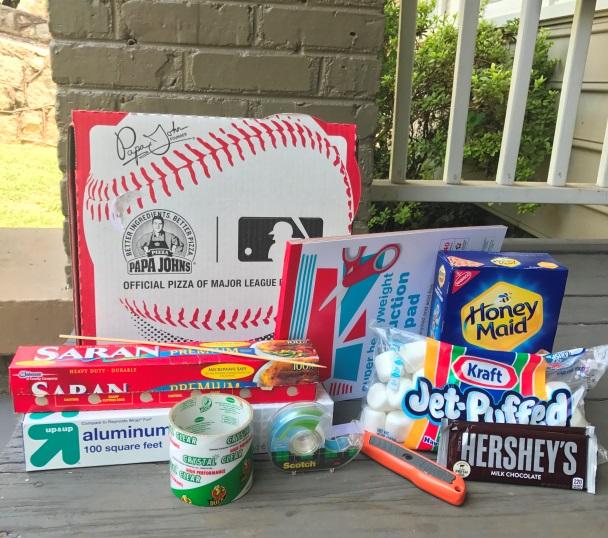
Here’s what you’ll need:
Pizza Box (this experiment was a good excuse when I didn’t feel like cooking the night before)
Box Cutter (for adult use only, PLEASE)
Aluminum Foil
Black Construction Paper
Plastic Wrap
Wooden Skewer
Scotch Tape or Glue Stick
Clear Packaging Tape
Graham Crackers, Large Marshmallows, and Chocolate (let’s be honest, this the reason we are all here)
Since this was an experiment, I guess I’ll add some scientific data for your information. It was a beautiful, sunny day in Greenville, SC with the temperature hovering around 85.9° F. I started construction of the oven at 12:34PM, “turned on” the oven at 1:00PM, and stuffed my face at 1:30PM.
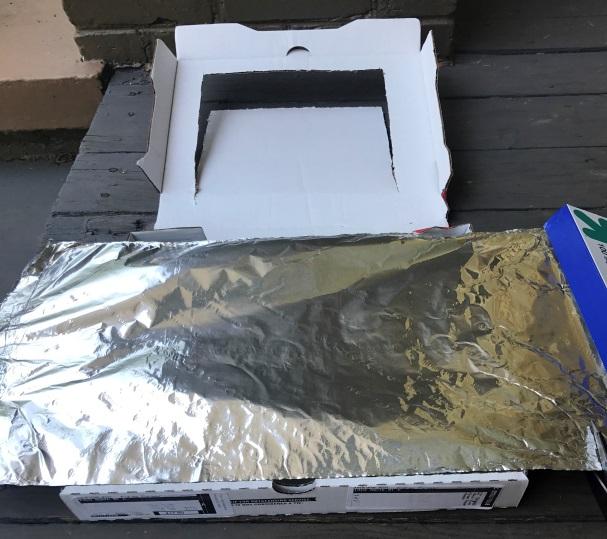
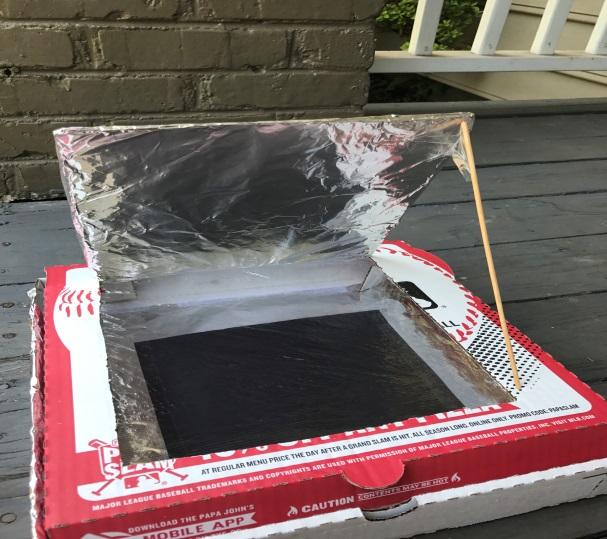
Step 1 – If you’re OCD, you’ll want to use a ruler and cut three sides of a square, on the lid of the box about 1 ½” to 2” away from the outside edge. Remember to leave the top of the square un-cut, you’ll use this as the hinge later.
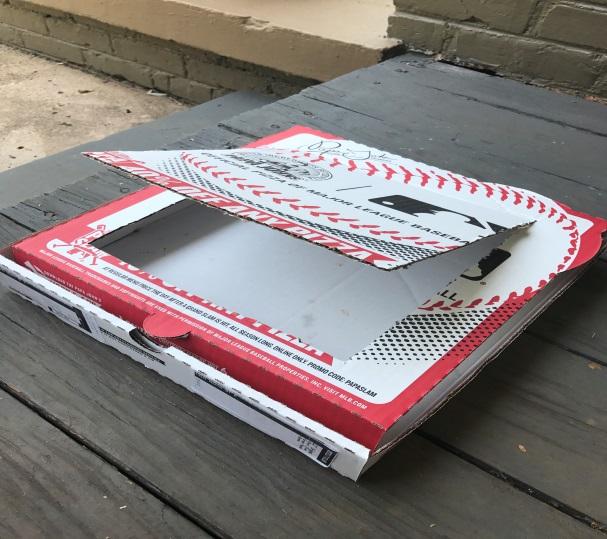
Step 2 – Line the inside, bottom portion of the pizza box with aluminum foil. I scotch tape to secure the aluminum foil to the box, but a glue stick will work perfectly here.
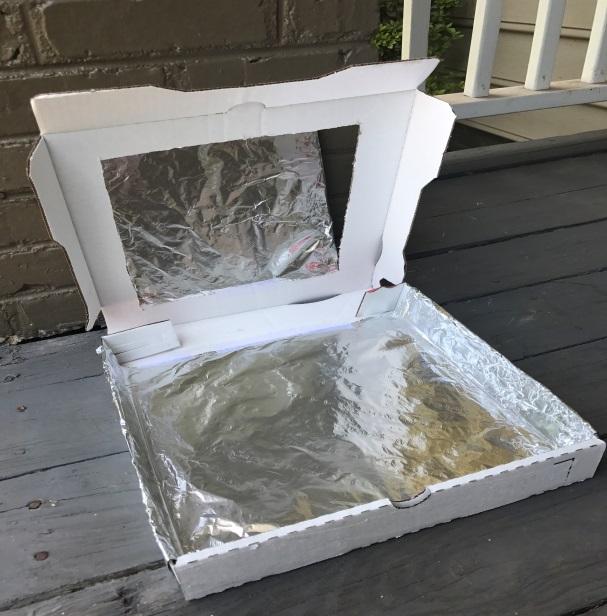
Step 3 – Line the inside portion of the flap you created earlier with aluminum foil.
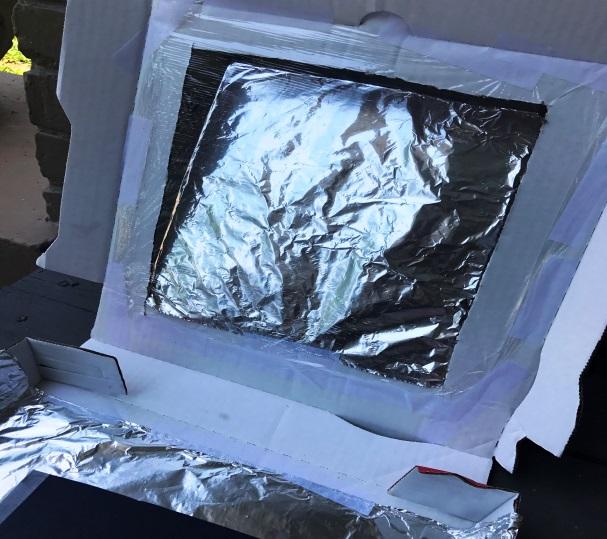
Step 4 – Trim a piece of black construction paper to stick to the inside, bottom of your box. It should be square shaped and you should allow for at least 2” of aluminum foil to show around all four sides of the square.

Step 5 – Line the hole you cut in Step 1 with plastic wrap. Make sure you are not attaching the plastic wrap to the lid itself, just the hole you created.
Step 6 – Hang in there, we are almost done! Make a small hole for your wooden skewer on the cardboard edge surrounding the foil covered flap.
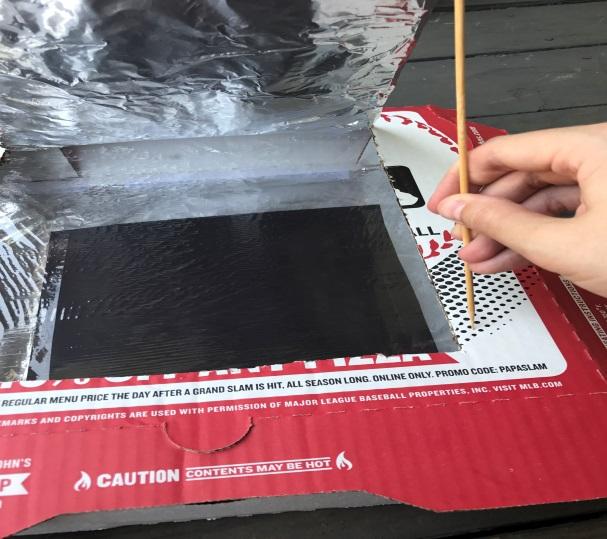
Step 7 – Tape the top of the skewer to the foil covered flap and stick the sharp, bottom edge of the skewer into the hole you just created.
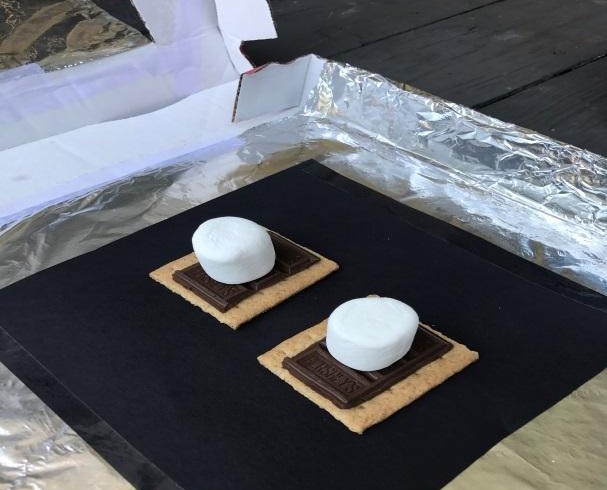
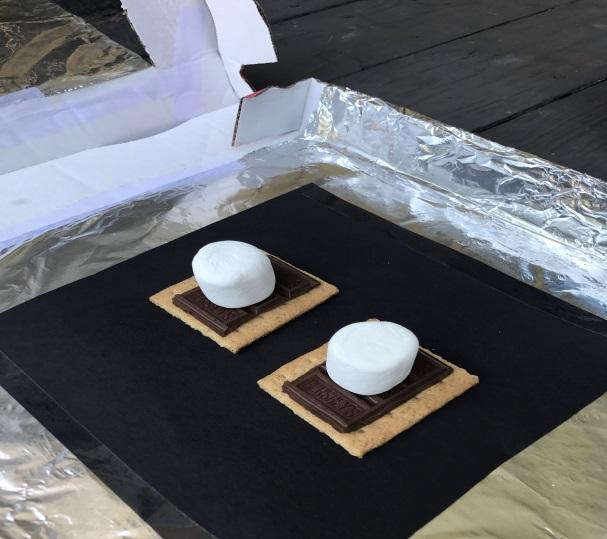
Step 8 – Now it gets interesting… it’s time to build your s’more! Graham cracker on the bottom, chocolate in the middle, and top it off with a marshmallow. I built mine this way, for ease of transportation. Though NASA’s suggestion of placing the marshmallow in the middle was probably a better call… it’s like they are rocket scientists.
Step 9 – Place in the sunniest spot you can find. I made sure the sun was shining directly onto the foil covered lid.
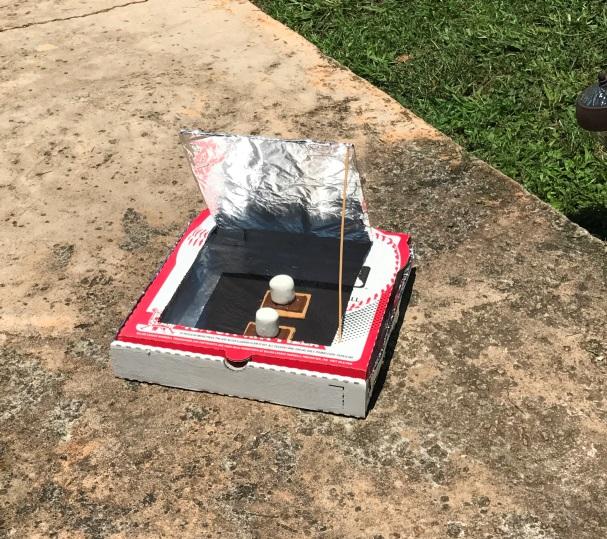
Step 10 – Wait at least 30 minutes. Remember the day of the experiment, it was 85.9° F, if you are doing this on a warmer day, it may take less time. Once time has expired open the lid and marvel at the shiny, melt-y, chocolate-y goodness. I topped my s’more with another graham cracker and devoured it.
*A note of caution, the chocolate was a little on the hot side, if you have young children, I would check the temperature of the chocolate before you let them dive in.
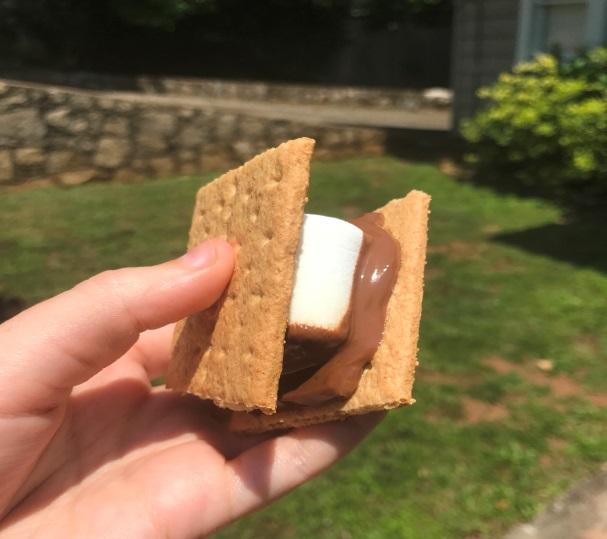
Doesn’t it look delicious? Notice I didn’t take a picture of my face, because it was covered in chocolate, how embarrassing.
I will count this experiment as a success in many ways: I learned about the power of the sun, I learned I have a low patience threshold when it comes to taping down plastic wrap, but most importantly I got to enjoy my first s’more of the season!
I hope you all enjoy this activity as much as I did. Whether you are a 29 year old just trying to get your snack on or if you are a parent trying to find a creative way to entertain your kids, get outside and make something!
Written by Leigh Ann Powers
Click HERE to find out more!
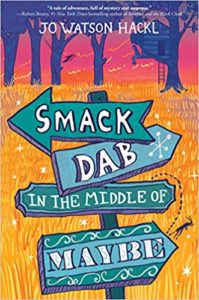
An Outdoor Adventure in an Overgrown Ghost Town
Eleven Days, Thirteen Clues, and One Kid Who Won’t Give Up
Can 12-year old Cricket survive on her own in an overgrown ghost town? Join Cricket as she forages, explores the outdoors, and tries to solve a thirty-year-old art mystery clue trail.
Click HERE to find out more!
Free Lesson Plans available!