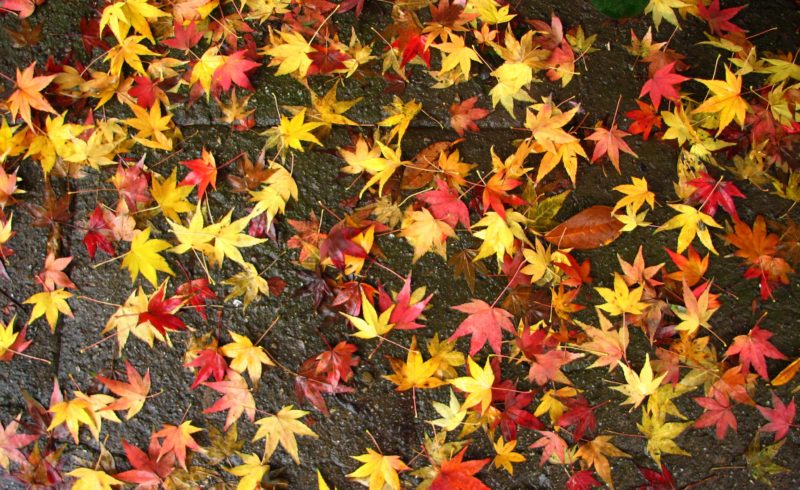
At our house, it’s time to start decorating for Christmas on December 1, even if some years we get off to a slow start. But did you know there’s a way to celebrate Thanksgiving all month long? Not only is it easy to do, but it helps bring everyone’s attention back to the things that matter most. Create a Thankful Tree with your family or class.
Supplies
- Roll of brown bulletin board paper, butcher paper, or packaging paper
- Red, yellow, and orange construction paper or cardstock
- Markers
- Sticky tack or masking tape
- Fall Leaves
- Pencil
- Scissors
- Bags for collecting leaves
How to Start
Start with the tree trunk, of course! You’ll want to make it big enough to hold all of leaves you’re going to be adding. You can purchase a roll of brown paper from a local arts and crafts store. Brown paper is even sold at big box stores, usually in the section with the packaging supplies, and it just costs a couple of dollars.
Next, use a pencil to draw a tree trunk with branches on your paper. If you don’t think you can draw, don’t worry! Remember – your tree represents part of nature. It doesn’t have to be perfect, or symmetrical, or even lovely. Trees come in all shapes and sizes. You can make it all one piece, or cut out the trunk first and then add the branches separately.
Choose a place to hang up your tree, such as an empty wall or the back of a door. To hang it, you can use sticky tack or similar material made to hang up posters safely. But since I never seem to have any on hand, I usually just use masking tape. It’s easy to remove from a wall.
Head Outside
Now, head outside with your children or students and gather some fall leaves. They will be using the leaves as templates, so instruct them to look for larger ones. They can put them in a brown paper lunch bag or a grocery bag.
Create the Leaves
Back indoors, spread out the leaves on the table. Have each person choose a leaf. Place the leaf on a piece of colored construction paper or cardstock and trace around it. Repeat with a different leaf until the whole paper is filled with leaves. Cut out the leaves.
To figure out how many leaves you’ll need, count the number of days until Thanksgiving. You will need one leaf per day per person. For example, if Thanksgiving falls on the 23rd, (as it does this year) you’ll need 23 leaves per person. If you are creating a tree for a classroom, just count the days you’re in school. Trace and cut the leaves until you have enough.
Be Thankful!
Starting on November 1, have each person think of something he or she is thankful for. That thing can be anything, from a person in their life, a pet, a favorite song, a favorite book, the weather, a favorite memory, or even a favorite meal. One at a time, have them use a marker to write it on a leaf and stick the leaf anywhere in the branches of the tree. As the month goes on, the tree becomes fuller and fuller with beautiful fall leaves. And best of all, everyone who participates is reminded that there is so much to be thankful for.
If you don’t get started on November 1, don’t worry! You can start your Thankful Tree on any day of the month. After all, anytime is a good time to be thankful!
Extensions
- After gathering the leaves, use a tree identification guide to find out what kind of trees the leaves came from.
- Create an identification guide of your own by tracing around the leaf on a piece of paper and writing the name beside it. Use the guide to identify other leaves that were collected.
- Take the guide outside and identify the trees.
- Visit your local library to find books about fall or why leaves change color.


