Inspiration and Information About the Outdoors


Inspiration and Information About the Outdoors
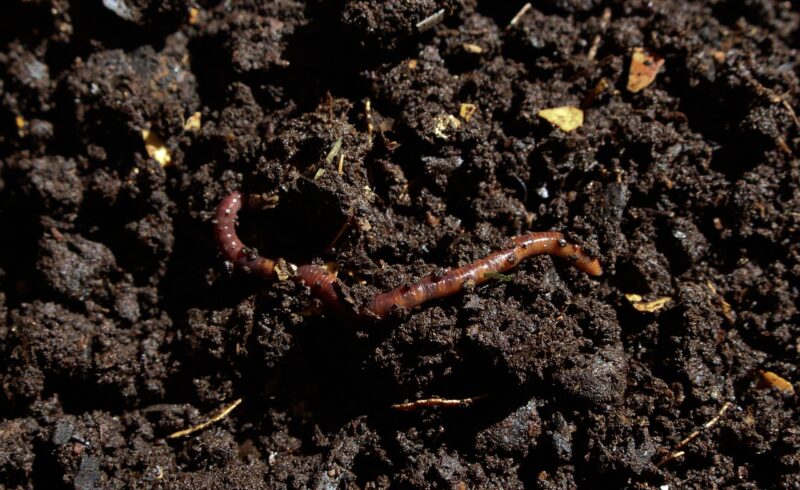
Worm towers. At first glance, the idea might make you squirm. But if you garden—at any scale—these worm towers could be a game changer for your soil’s health.
Vermicomposting is the practice of using worms to expedite the natural breakdown of organic materials that eventually gets turned into compost. It’s a cost-effective, eco-friendly way to enrich your garden. Although commercial vermicomposting bins can be very expensive, you can easily make one at home yourself. This practice will earn you great compost, liquid fertilizer, and—of course—lots of worms. So, let’s learn how to make a worm tower.
1. Prepare the Buckets
2. Stack the System
3. Add the Compost
4. Fill the Top Bucket
5. Rotate the System
6. Collect Liquid Fertilizer
You will have to be more vigilant in the beginning, as different factors will play a role in how long the process takes, and there may be some trial and error. However, once you get the hang of it, things should go smoothly. After a while, if you think you have too many worms, start spreading them out in your garden or just back into the earth. You can also sell your worms for some extra income on the side!
And just like that, you have a repeating system that will expedite your composting process! Your plants will thank you for the extra nutrients you’re feeding them. Your food will grow faster and healthier and taste better, so why not make your own worm towers today?

Click HERE to find out more!

An Outdoor Adventure in an Overgrown Ghost Town
Eleven Days, Thirteen Clues, and One Kid Who Won’t Give Up
Can 12-year old Cricket survive on her own in an overgrown ghost town? Join Cricket as she forages, explores the outdoors, and tries to solve a thirty-year-old art mystery clue trail.
Click HERE to find out more!
Free Lesson Plans available!